Golf Course Melbourne
- Graham Marsh Golf Course Design
- 18 holes
- 6,577m
- Par 72
Course Design & Tour
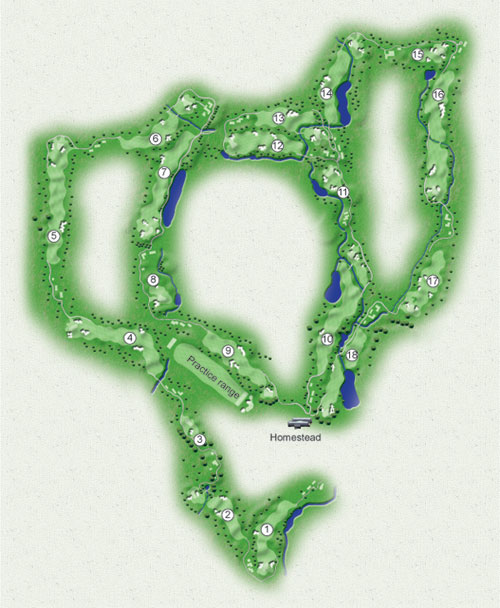
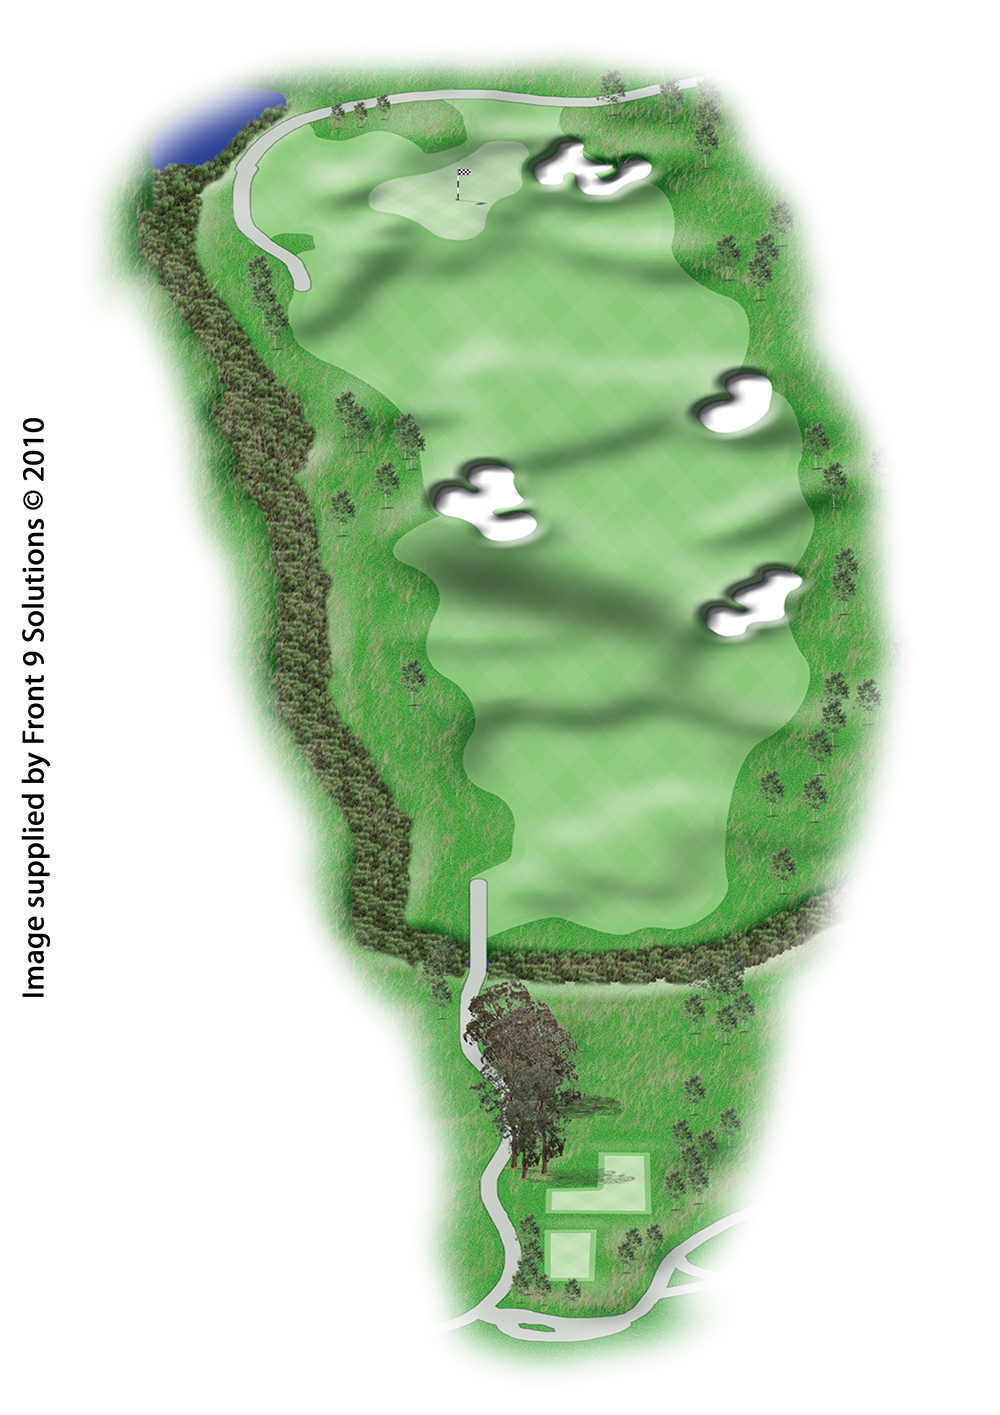
Located conveniently 40 minutes West of Melbourne’s CBD, Eynesbury has one of the best golf courses in Melbourne. Designed by the legendary Graham Marsh, it has been strategically created to accommodate the widest range of golfing abilities and allow for the greatest variance of prevailing weather conditions. The generously propositioned fairways and inviting targets however positional play from the tees will always be handsomely rewarded by providing the best angle of attack to the greens.
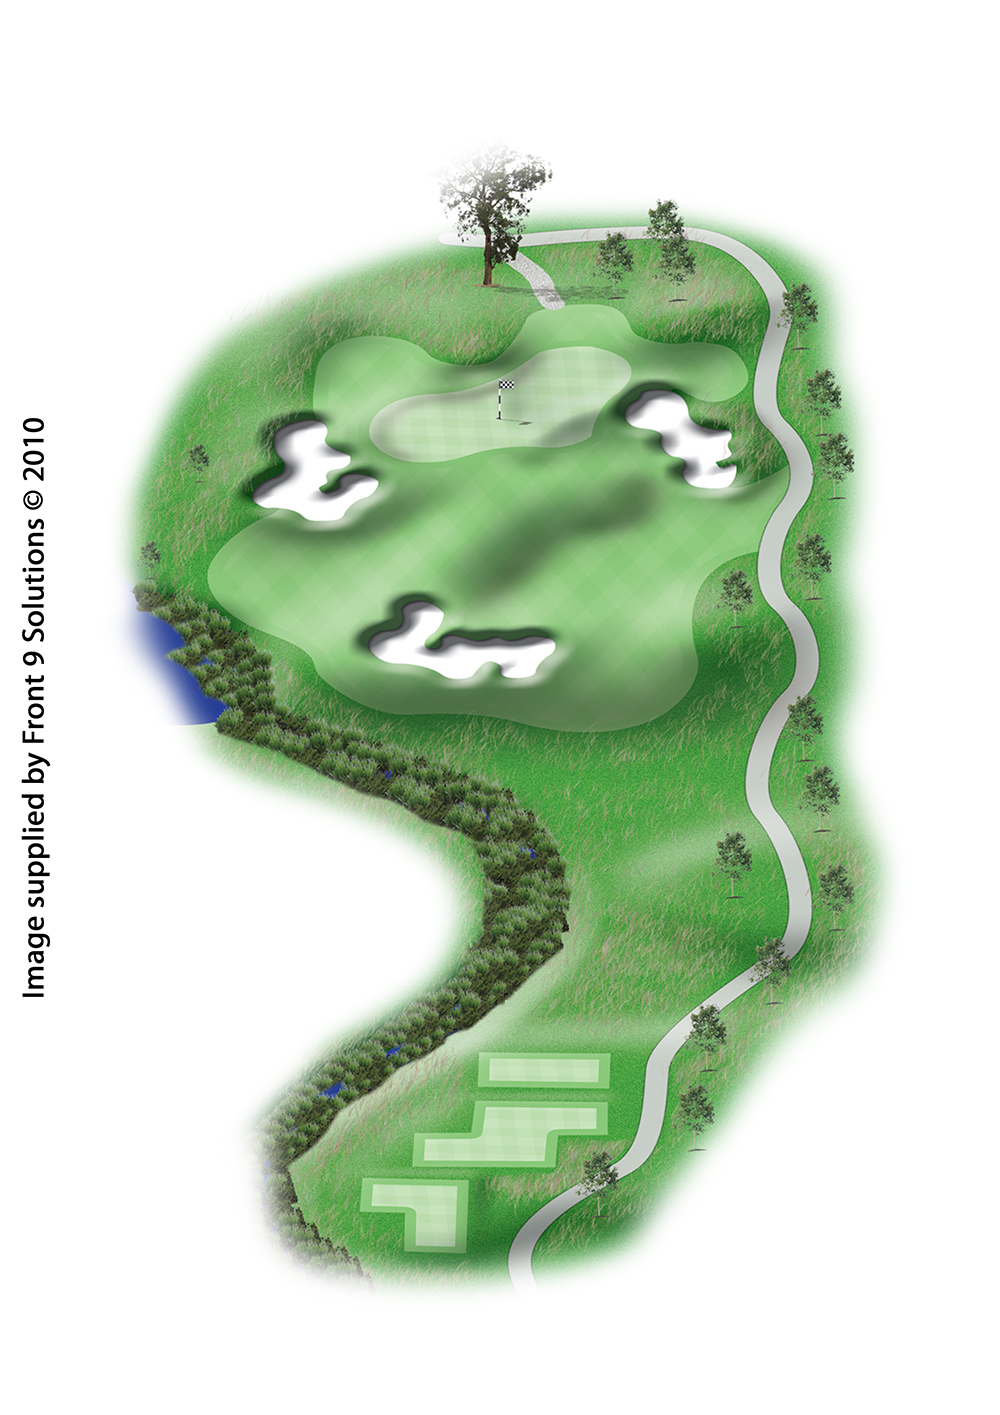
In most instances the approaches to the greens are receptive to a ball being played low to the ground and for the creative shot maker this will prove to be a bonus when the wind is whipping across the open farmlands.
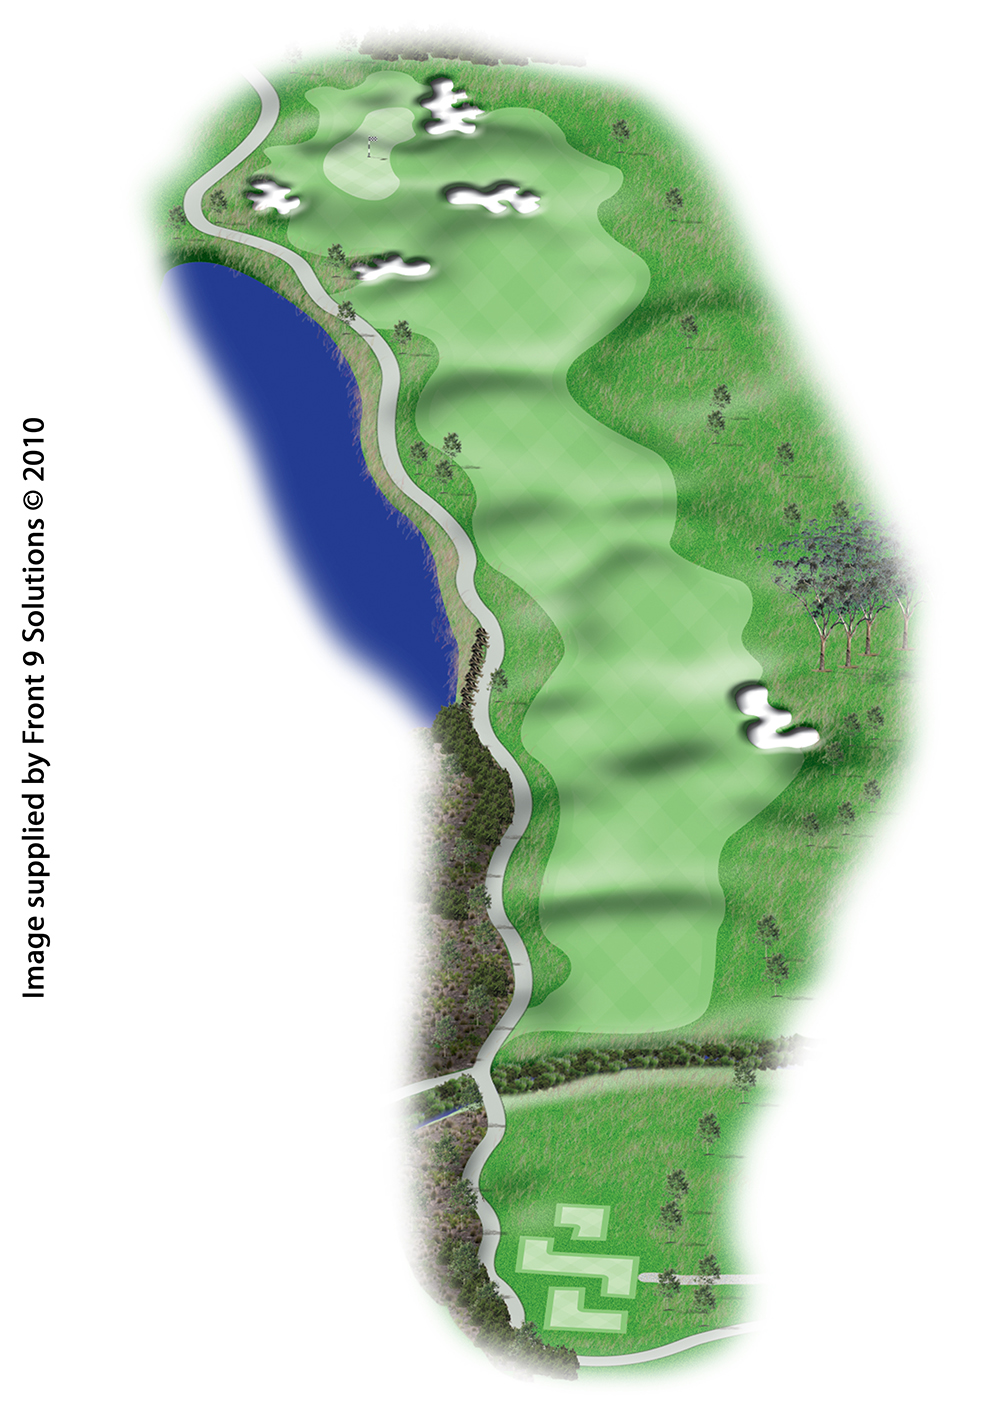
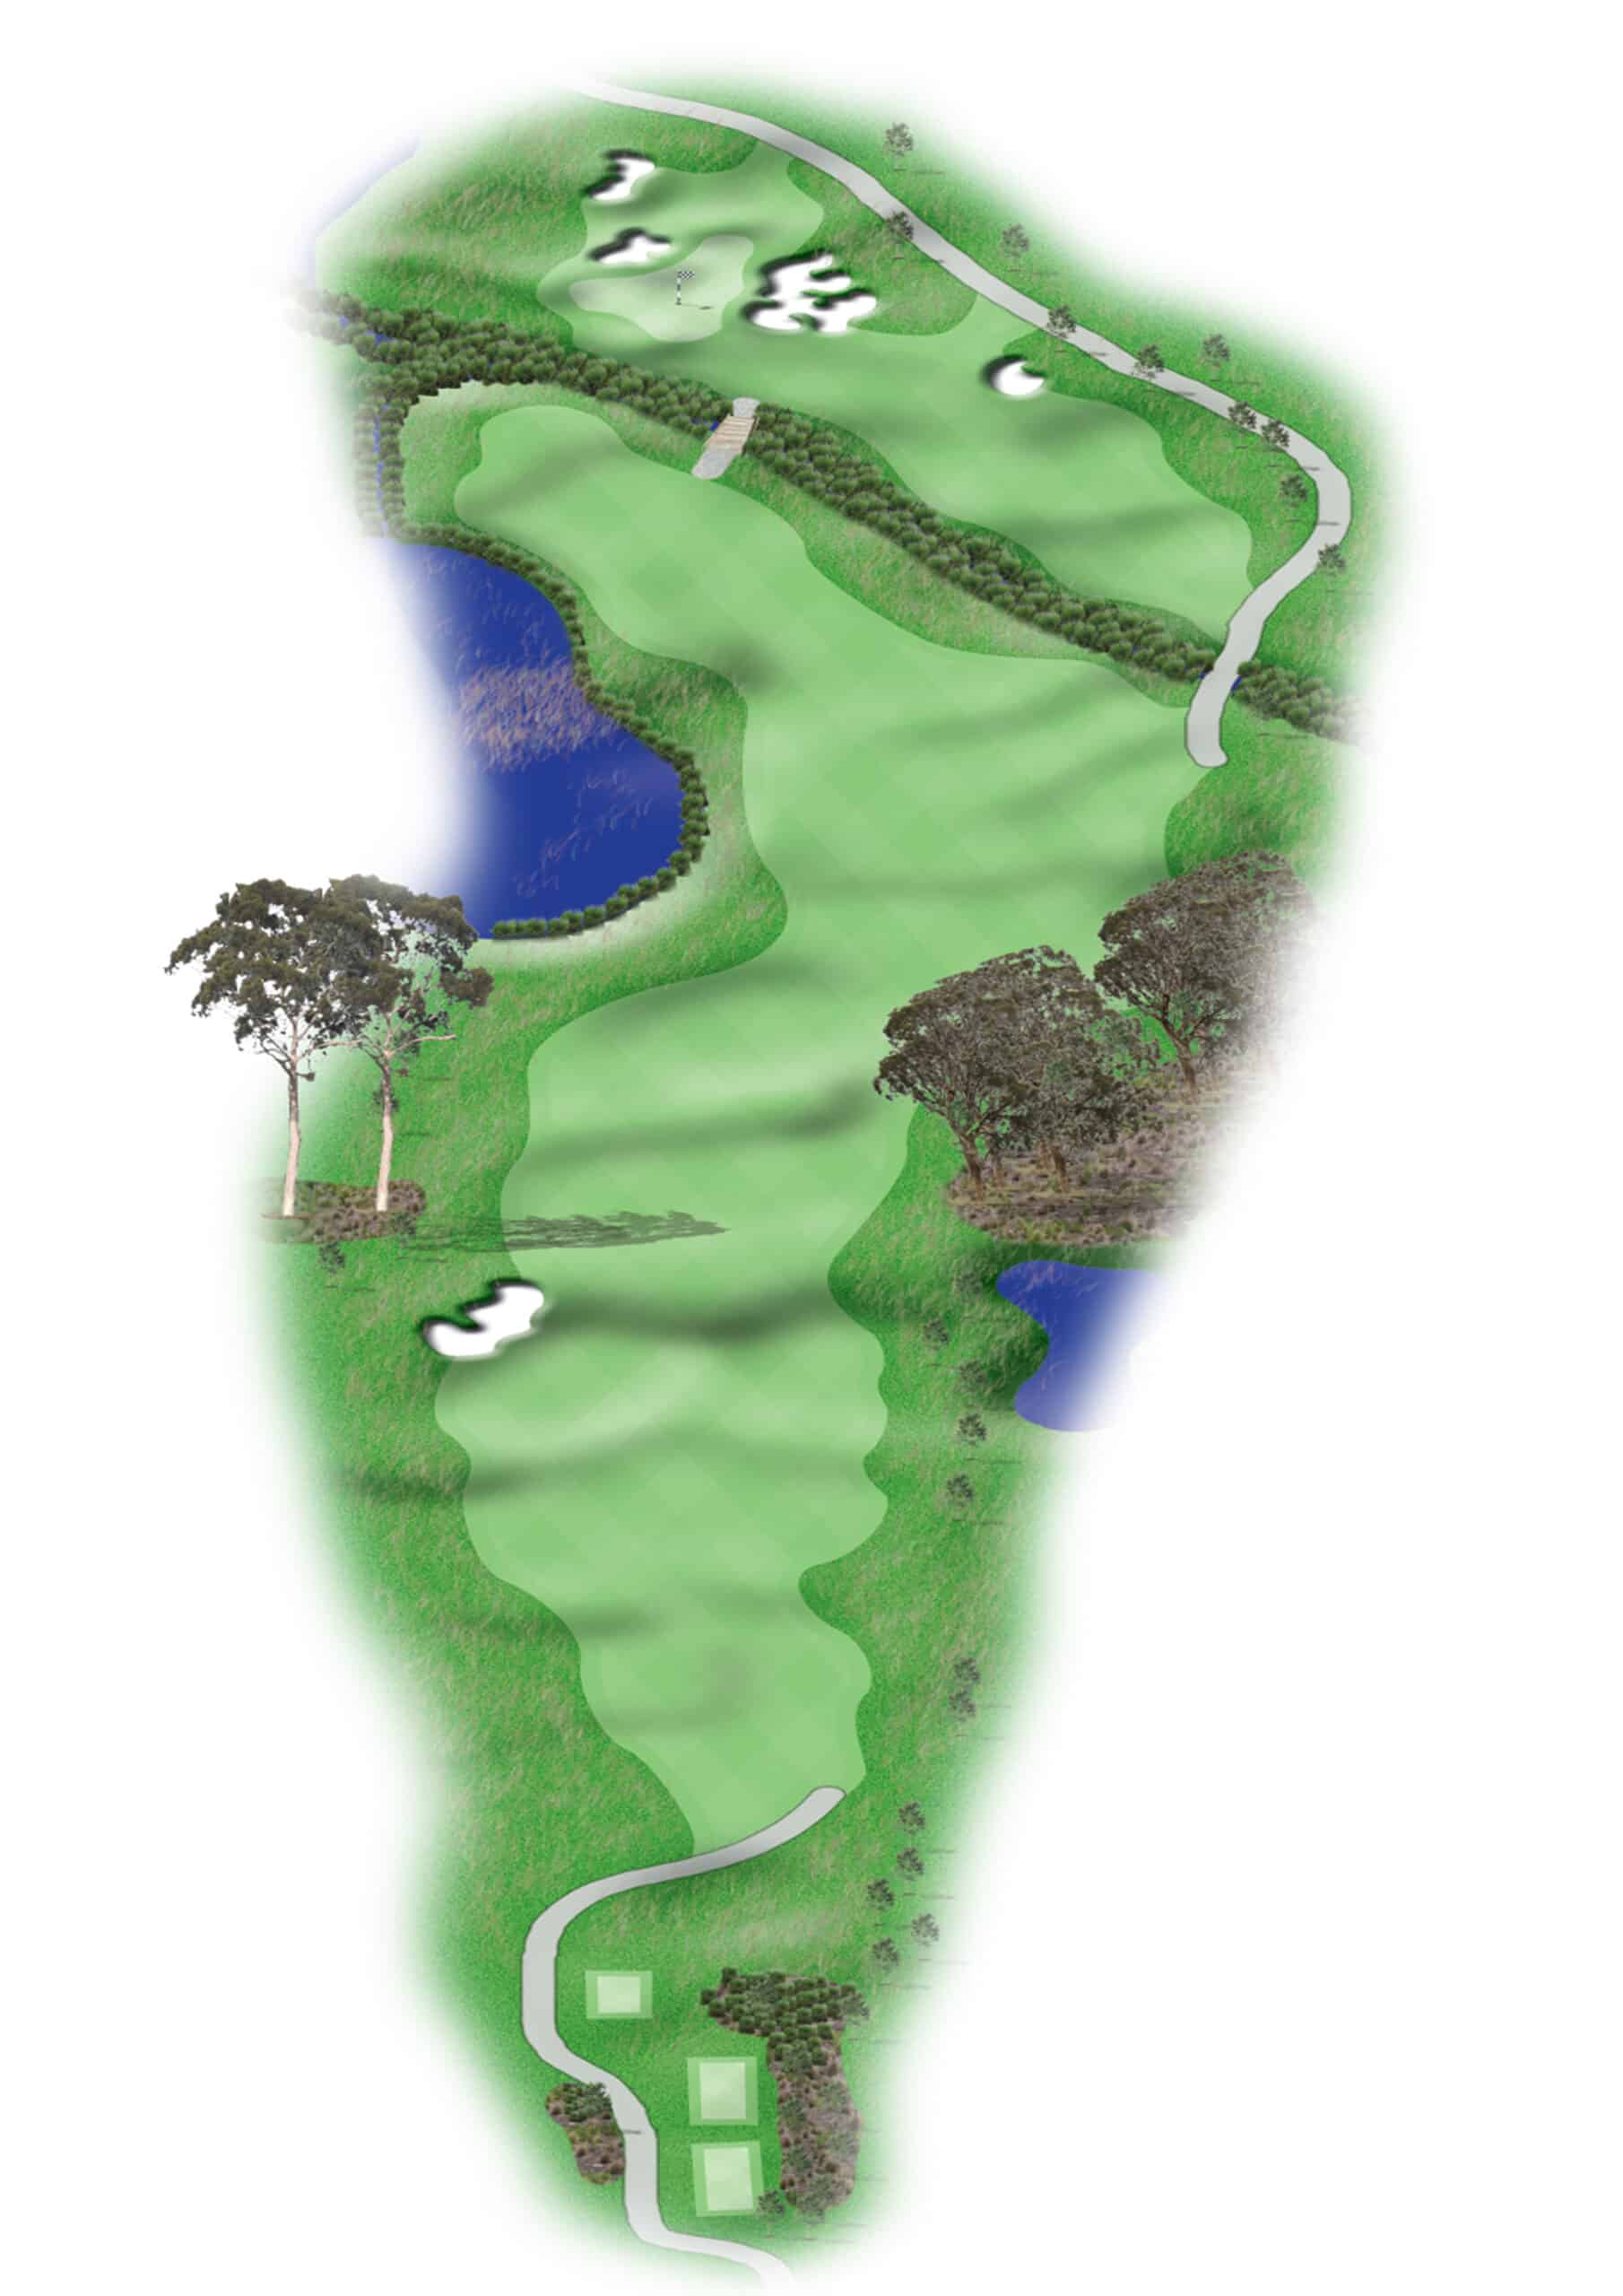
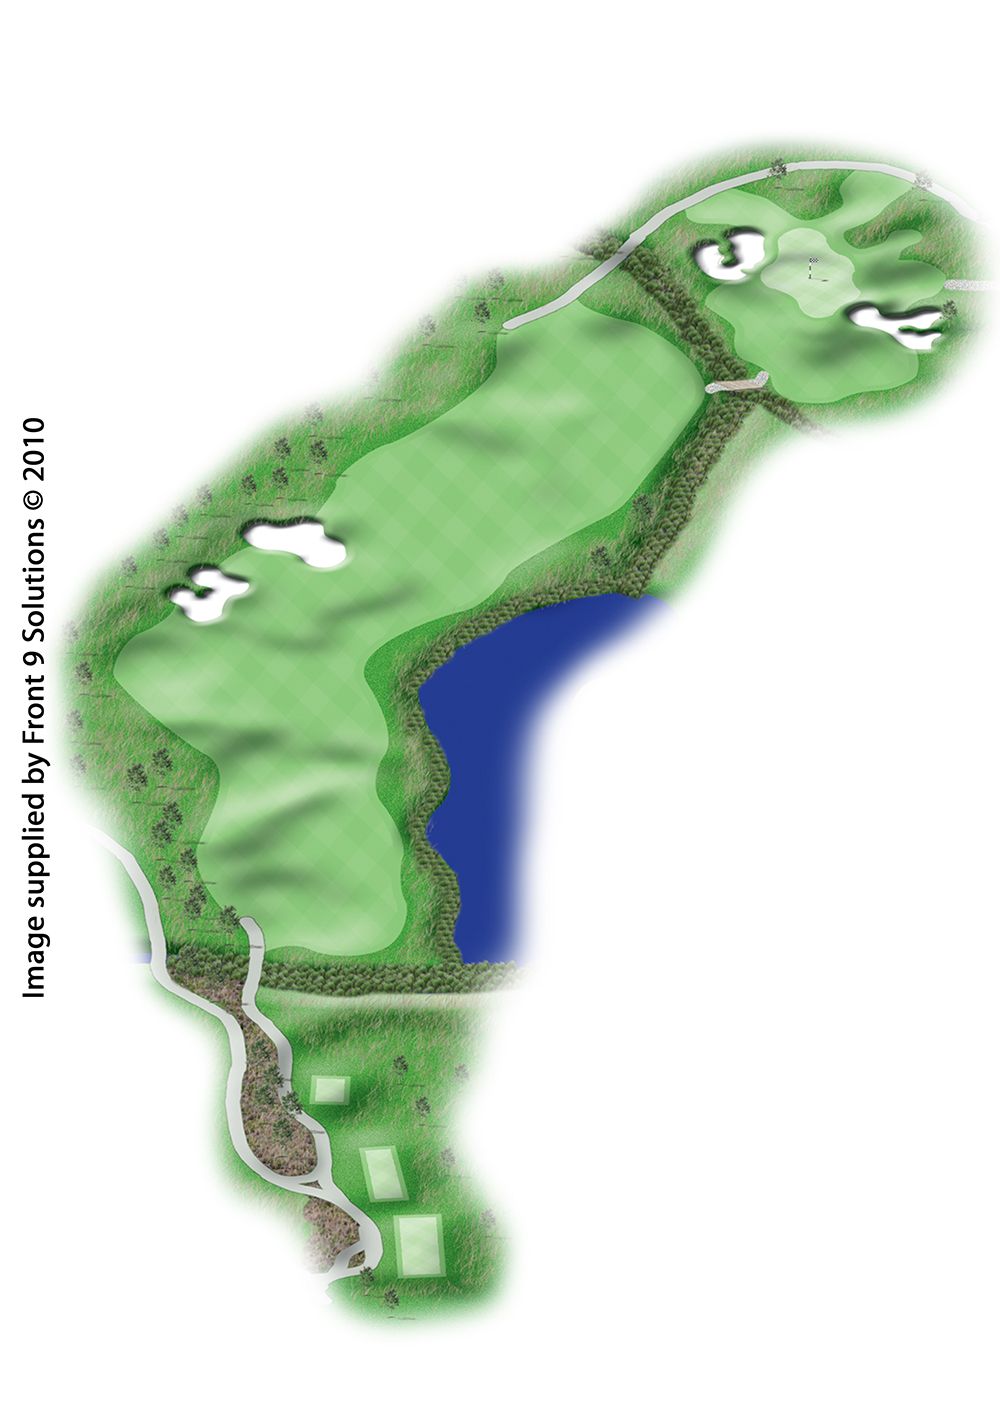
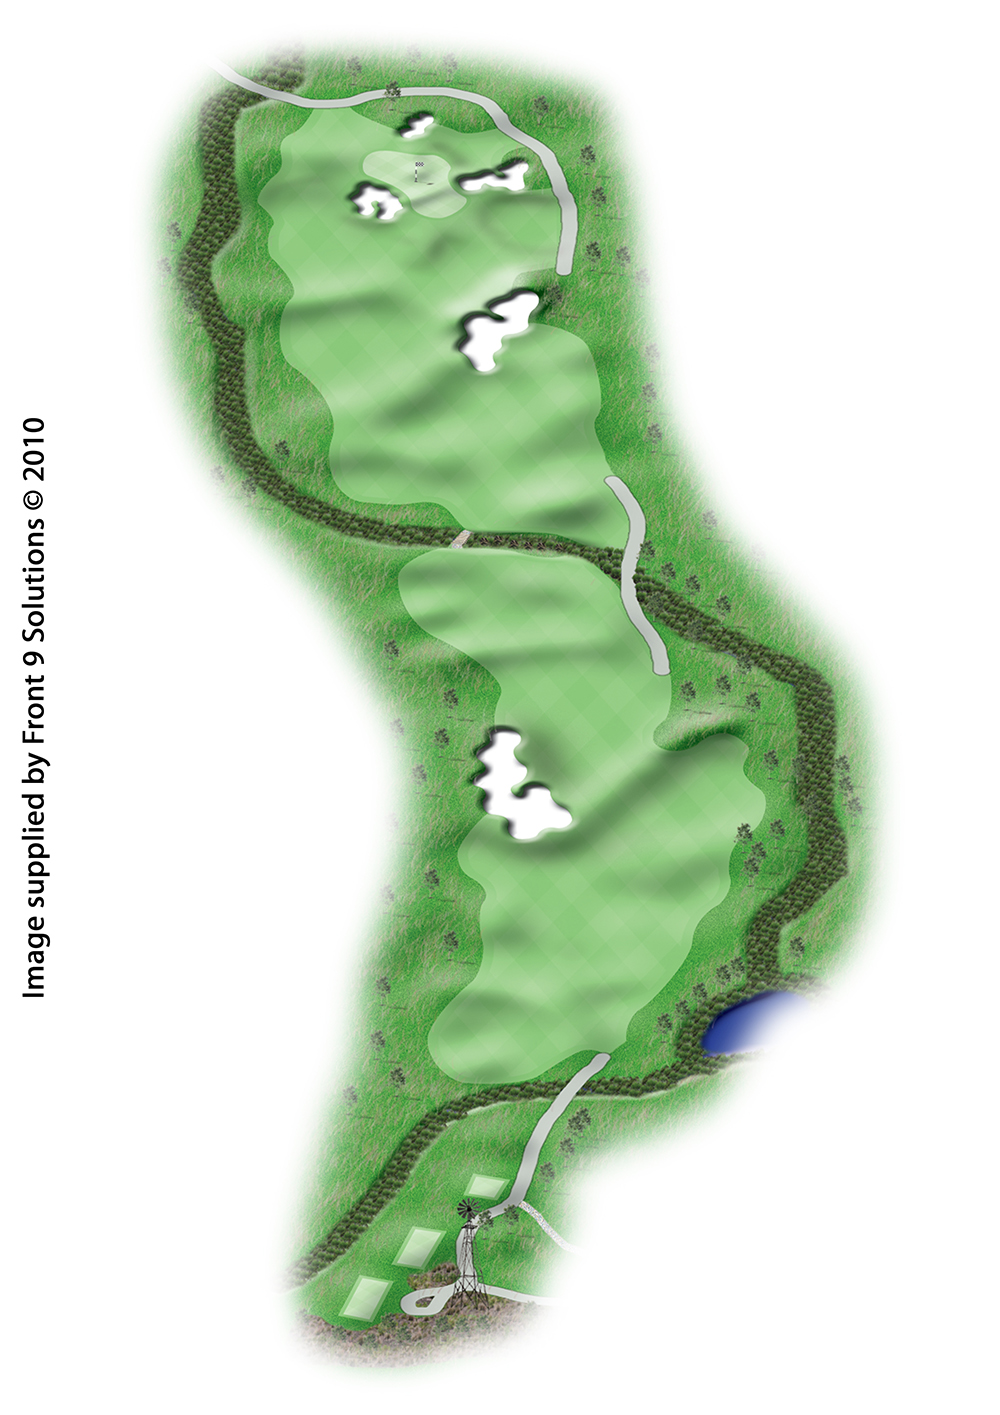
The open creeks traversing a number of the holes and the water bodies on the 10th, 14th and 18th bring the risk reward factor aspect of the game to the forefront but always allow for alternative.
For those looking to perfect their golfing technique, Eynesbury Golf also has a driving range and offers golf lessons with our head teaching professional.
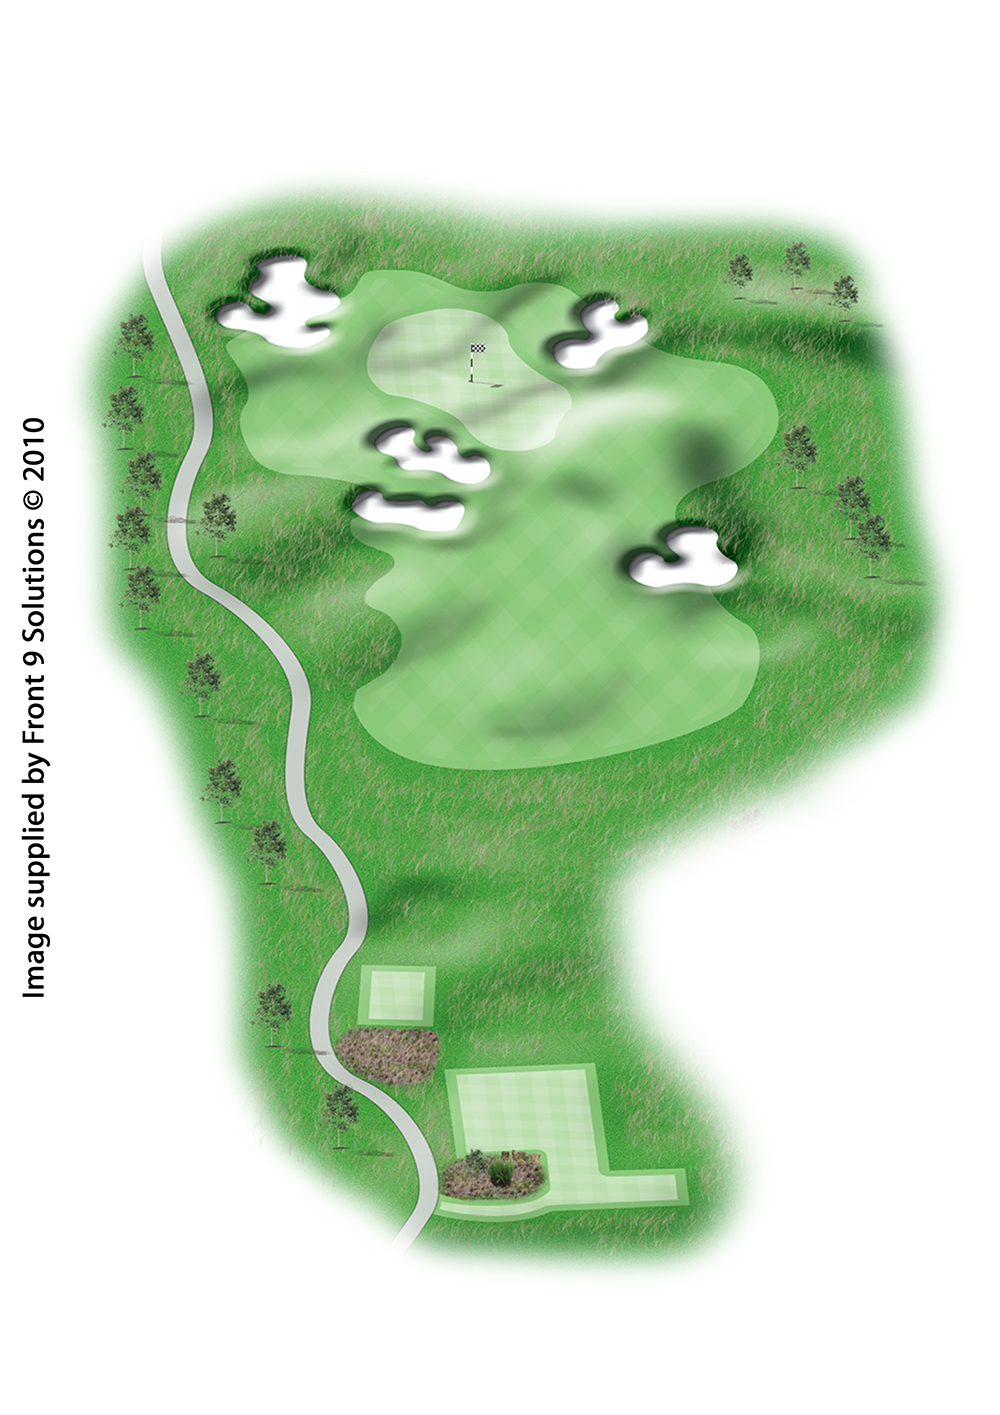
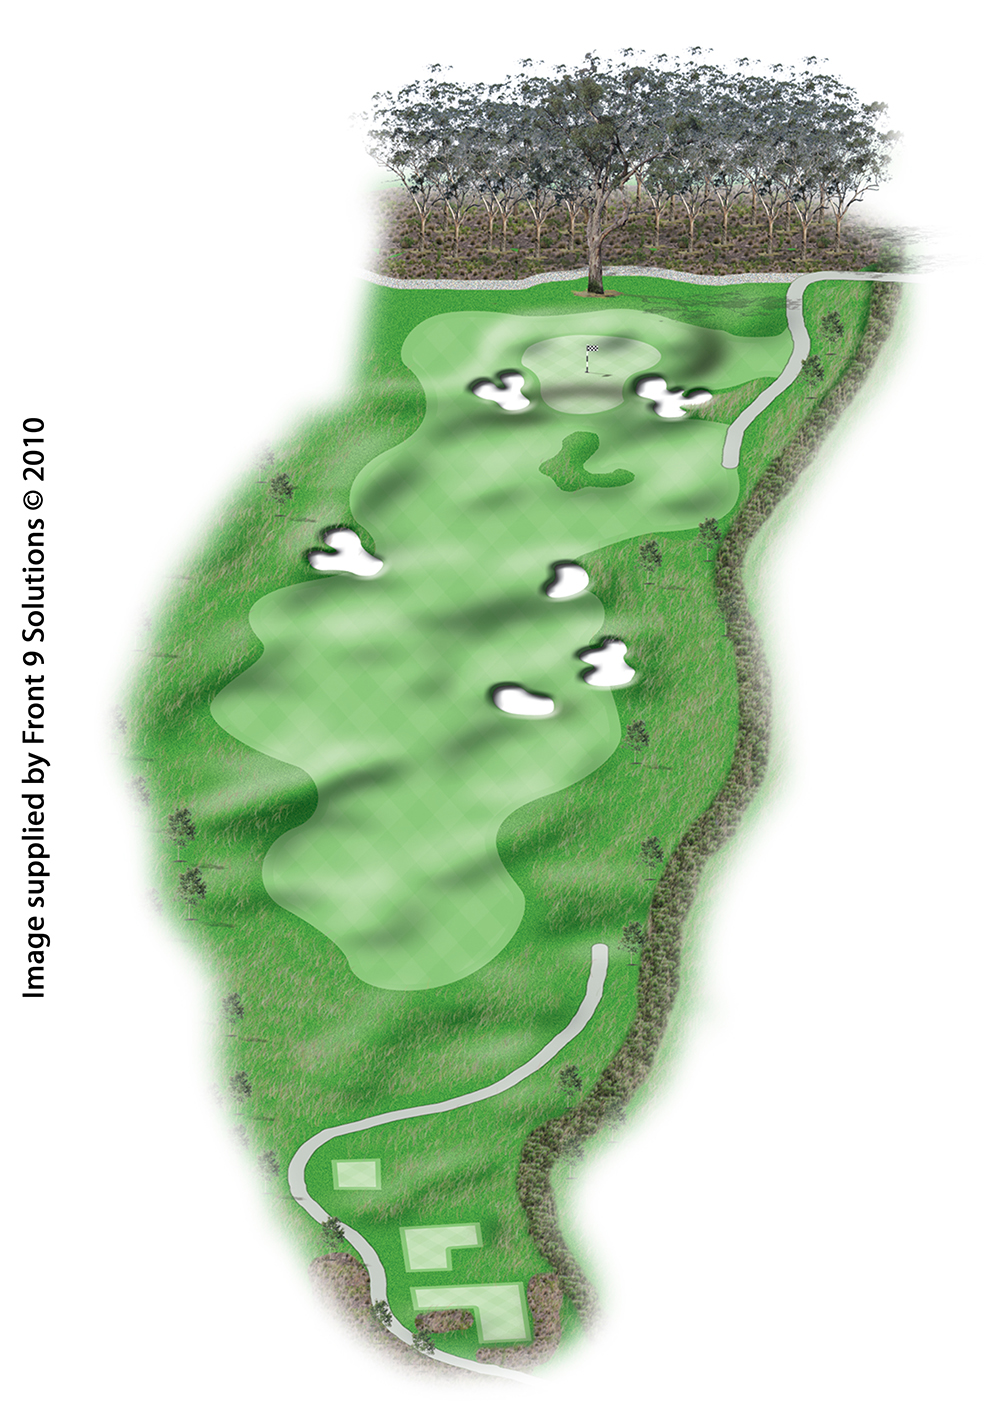
Golf Course Tour
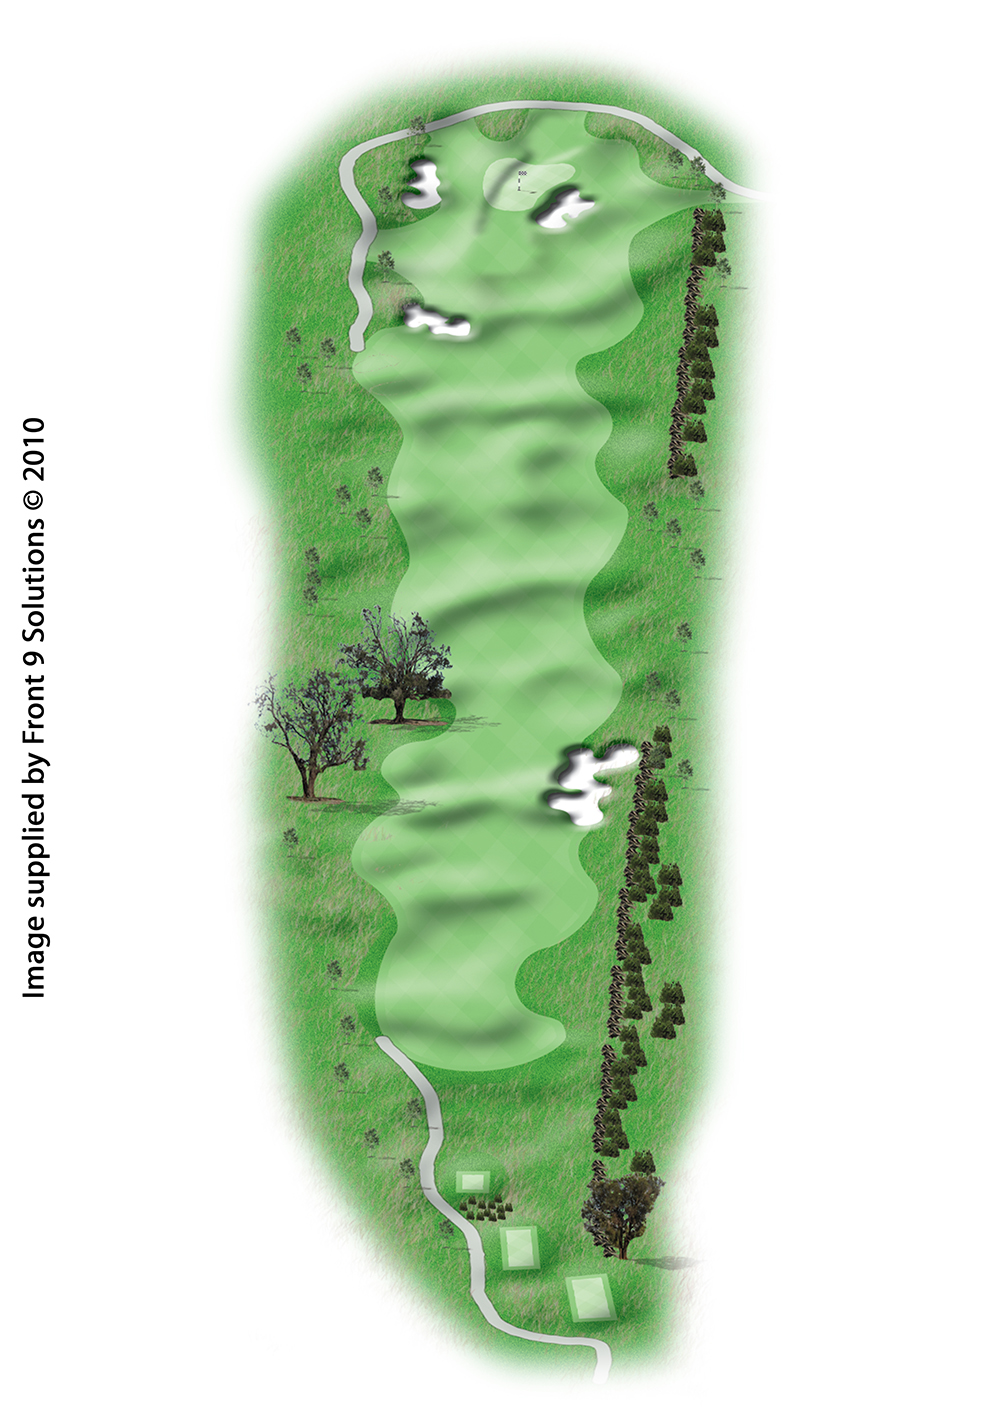
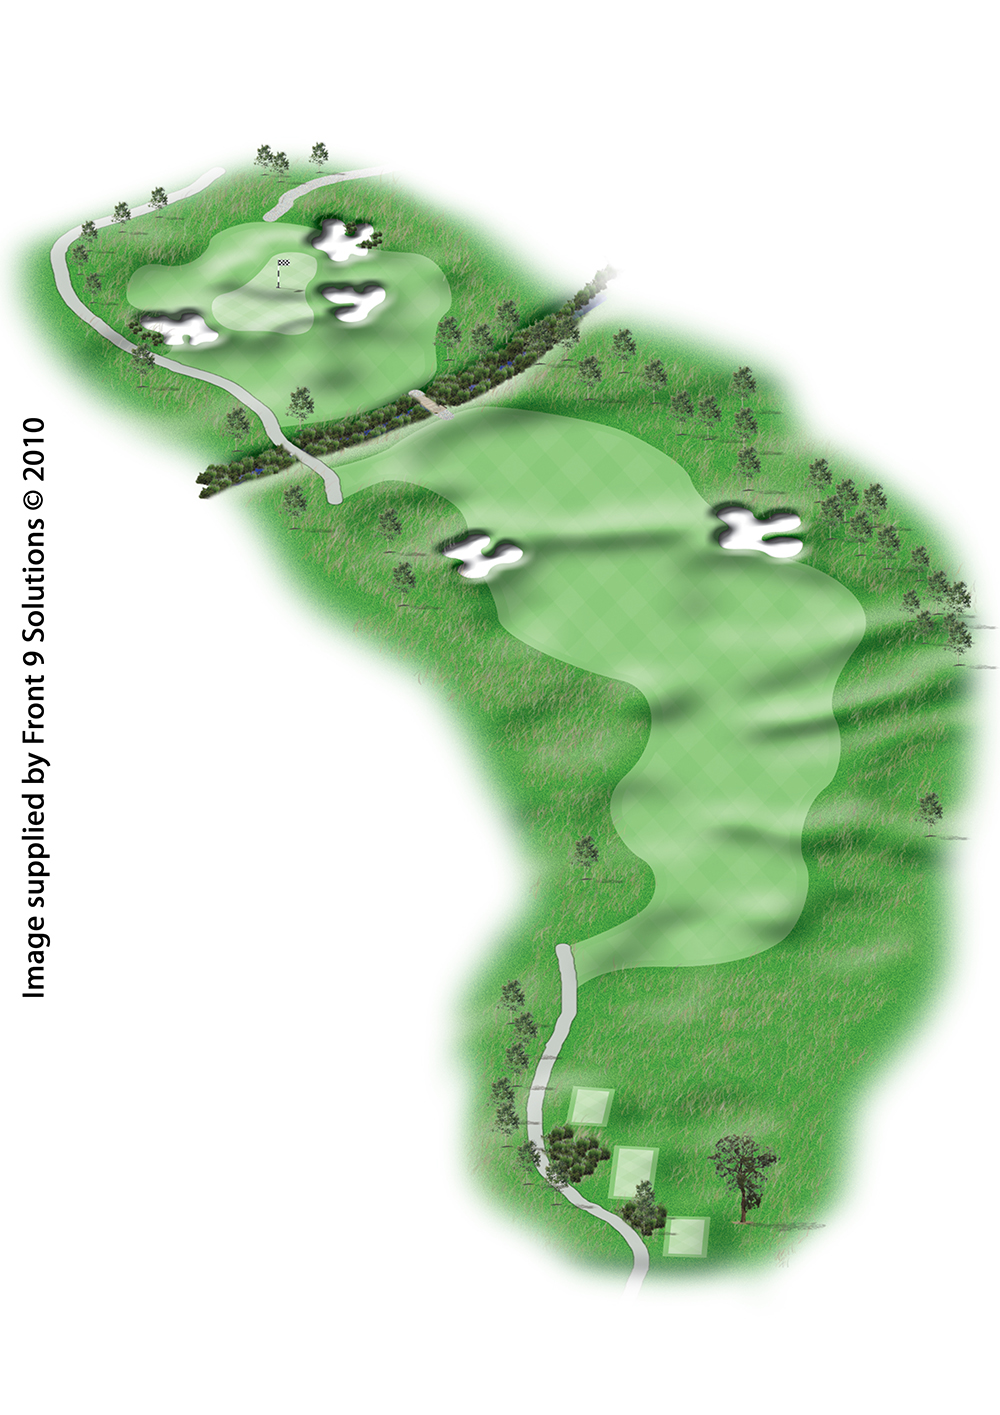
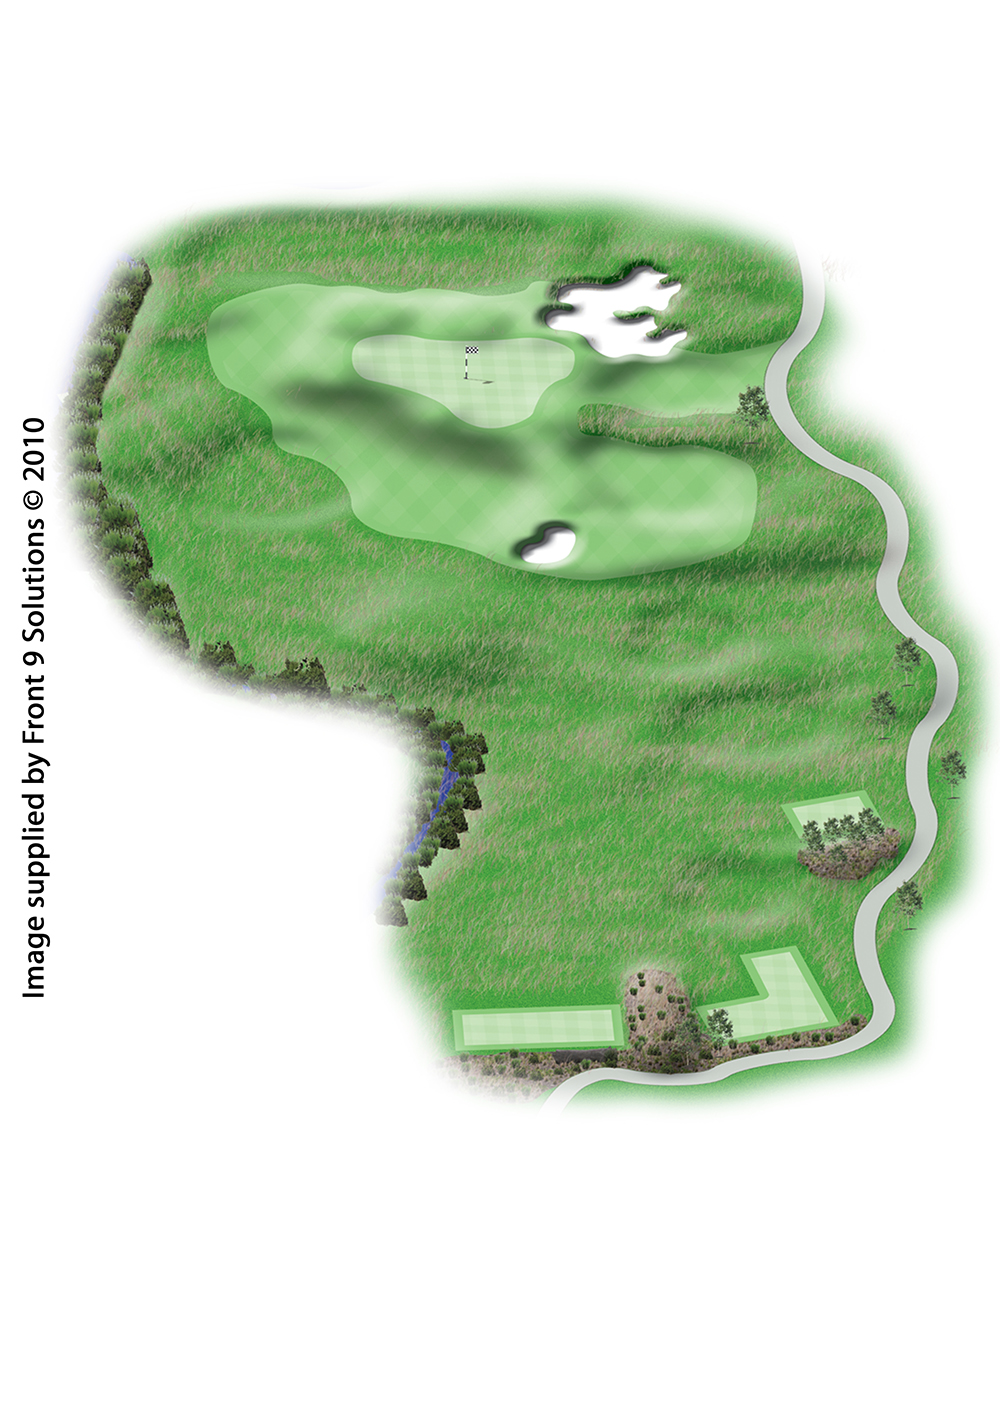
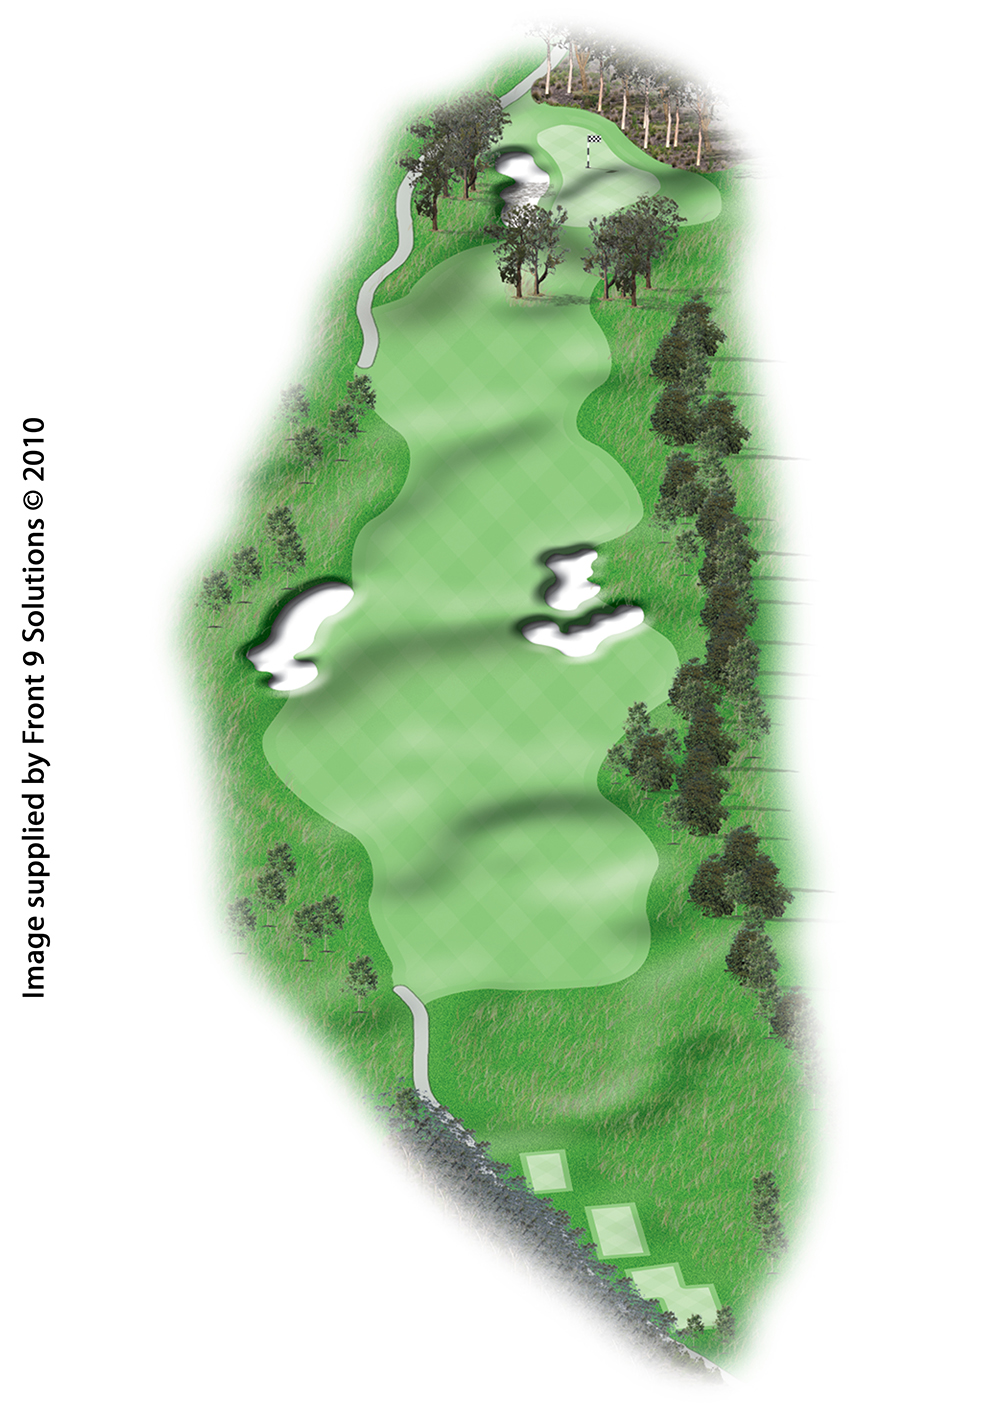
Get up close and personal with the Course. The below hole-by-hole Tour outlines in intimate detail every aspect of the Course, it’s design features and the best way to play each hole.
Overview
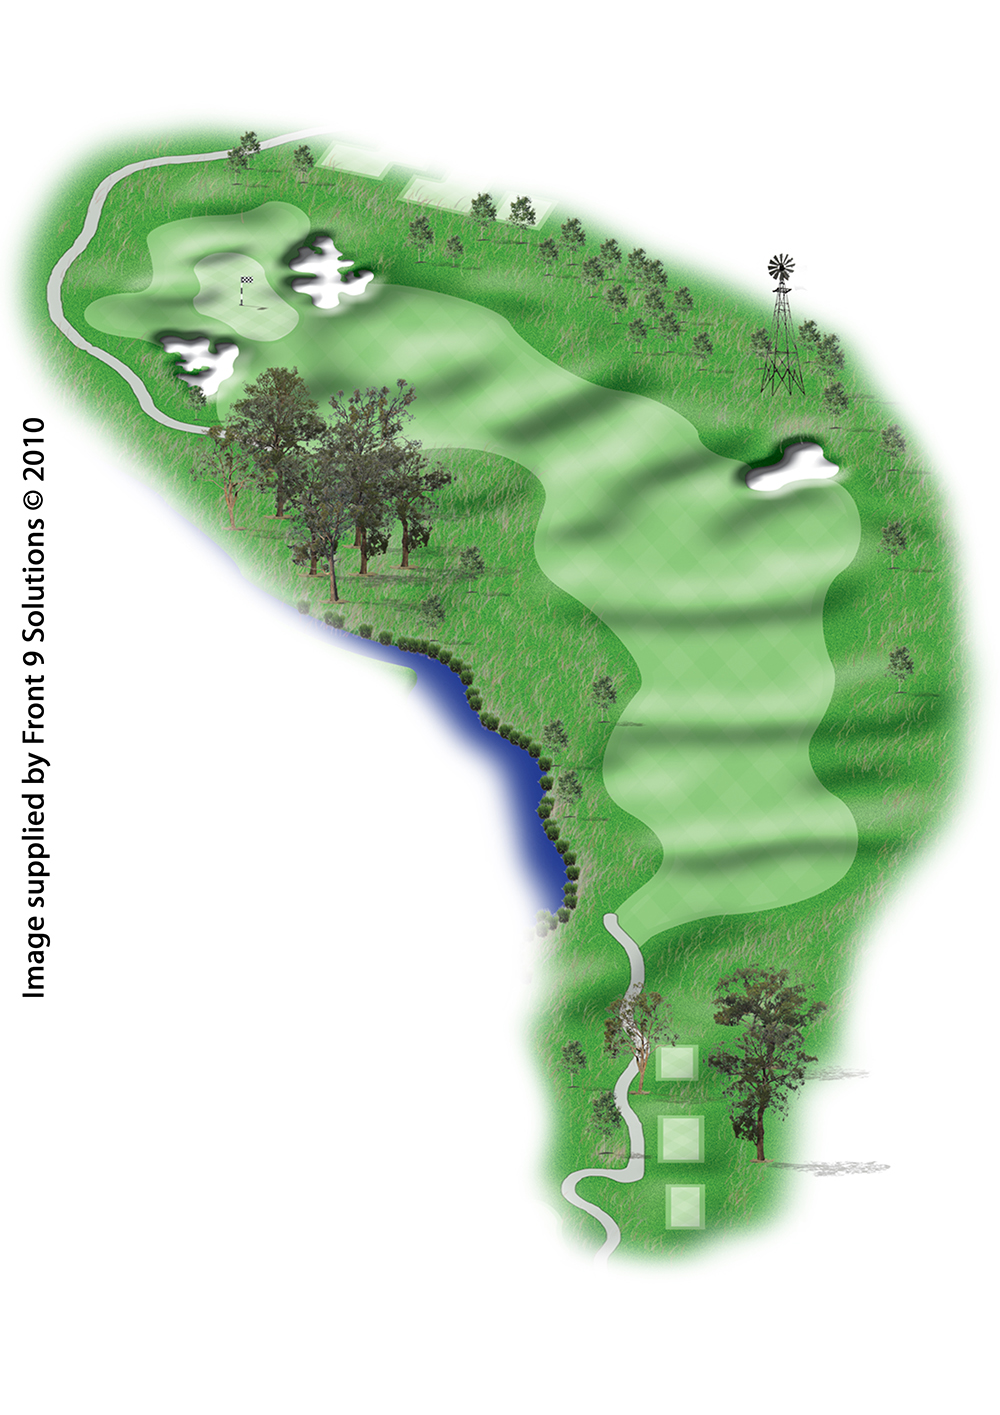
Hole 1
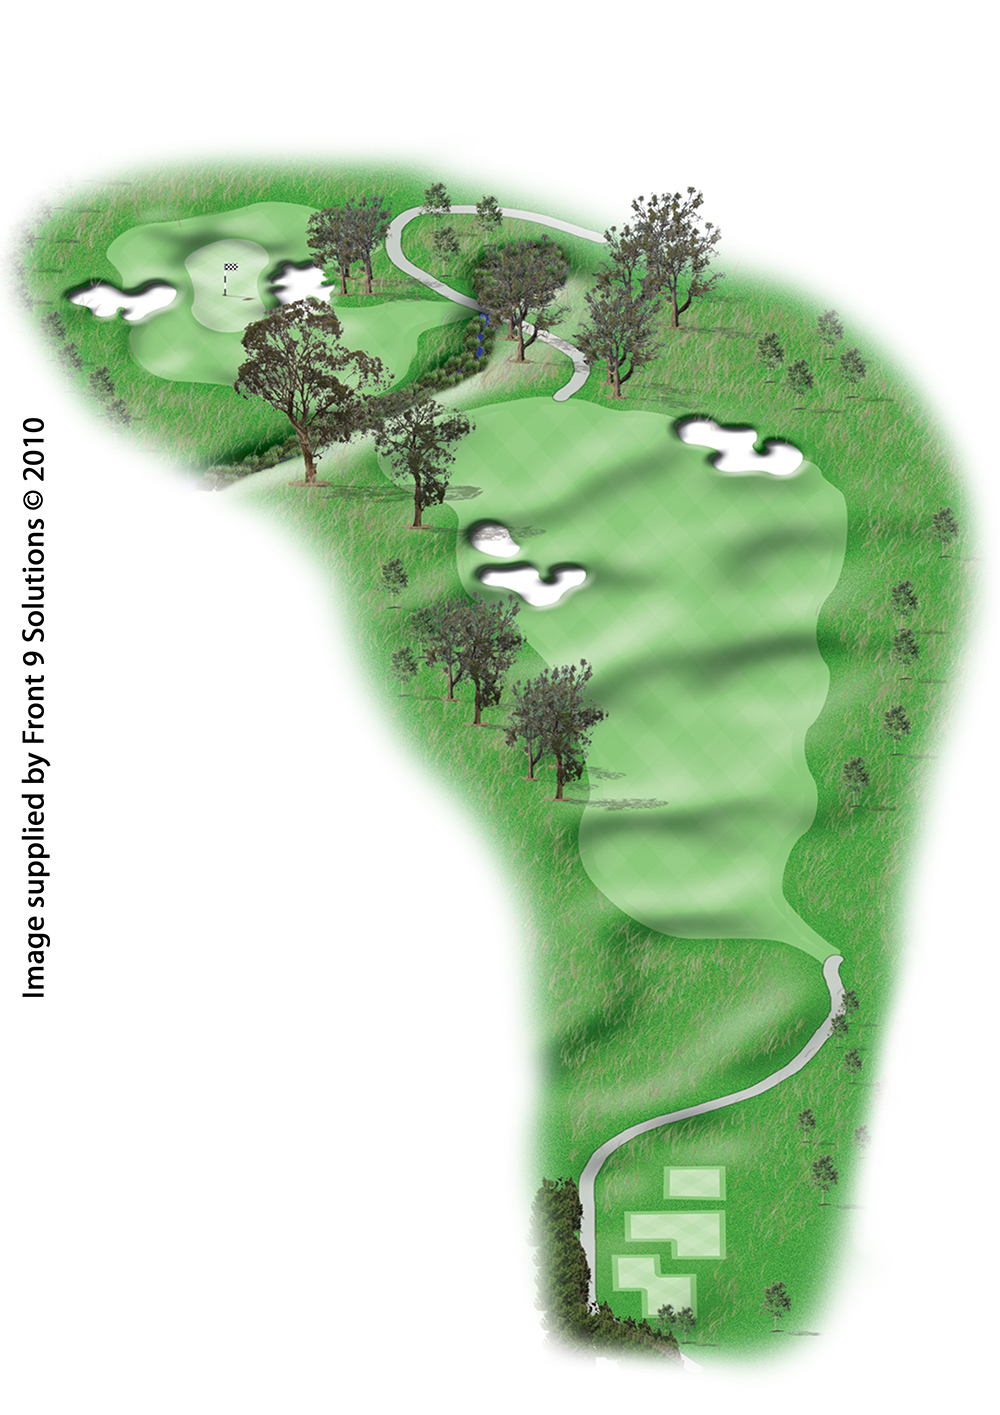
Hole 2
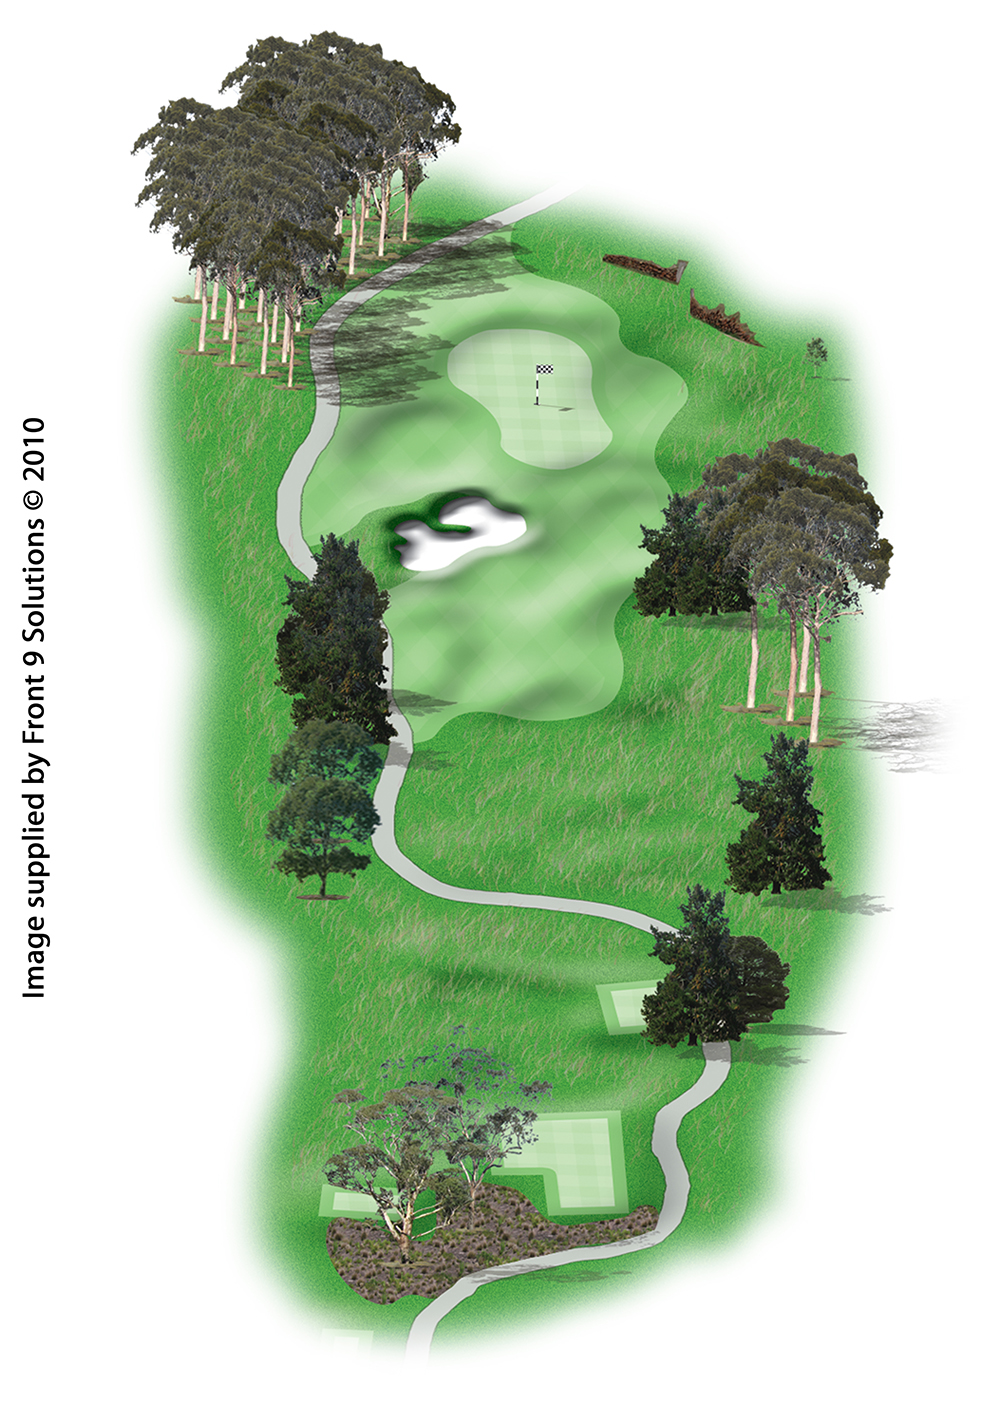
Hole 3
Hole 4

Hole 5
Hole 6
Hole 7
Hole 8
Hole 9
Hole 10
Hole 11
Hole 12
Hole 13

Hole 14
Hole 15
Hole 16
Hole 17
Hole 18


Historic Golf Course - Eynesbury Victoria
Eynesbury Golf Course first opened in 2007 and was quickly received as one of the top Golf courses in the Country. In fact, since 2014 it has been voted as one of the top 100 Golf Courses in the country.
The legendary Graham Marsh was commissioned to design the Course, with a brief to have it seamlessly integrate into the Eynesbury community whilst also ensuring it was challenging, accessible and enjoyable for all golf lovers from beginners to professionals. His vision for the Course was perfectly captured when he stated that it is “my hope that those who play Eynesbury will enjoy a memorable golfing experience and at the same time come to appreciate much more of our nation’s heritage and farming history”.
As a key feature of Eynesbury, the Course itself has become part of the lands long standing and colourful history. A history which began millions of years ago with First Nation inhabitants, to it’s pastoral heritage through to today where it has become as a thriving community for over 3000 happy residents.
Features of the Eynesbury Golf Course
The design
Graham Marsh is a golfing genius, everybody who knows golf knows that. The way he turned a flat piece of farmland into the masterpiece Eynesbury Golf course is today is nothing short of amazing. The overall Course design and the way it integrates features such as the use of creeks that come into play over 10 holes, the bunker positioning and hole shapes, sets the scene for a true golfing challenge.
The location and history
As the course weaves through the estate of Eynesbury, some say they feel like they’re all alone. With little crossing over between holes and farmland between you and the next, there’s an extraordinary feeling of taking it all in. From sheering sheds, to water wells and numerous heritage listed buildings, it’s hard not to enjoy the views and the history that comes along with Eynesbury Golf Course.
The Challenge
With the course measuring just under 7,000 metres from the back tee’s, the Graham Marsh design can be a real test. Generous fairways, the bunkering and creek management around the course really require a precision game to keep out of trouble.
Book your next Golf Day with Eynesbury Golf Today!
Whether you’re looking to play a quick casual game of golf, become a member of this fantastic Club or perhaps lock in a corporate golf day, click below to find out the range of games and pricing options on offer at Eynesbury.